Before diving into specific methods, follow these three essential principles to prevent damage:
1. Avoid Friction Keep your pins from rubbing against hard surfaces, which can cause scratches or chipped paint.
2. Keep Them Dry Moisture is the biggest enemy of metal pins—it leads to oxidation, rust, and discoloration.
3. Stay Away from Chemicals Avoid contact with sweat, cosmetics, cleaning products, alcohol, and other chemicals. These can corrode plating and damage the finish.
2. Care Tips by Pin Material
Different materials require different care approaches. Use this quick guide:
Copper Pins
Main concern: Oxidation (green tarnish), loss of shine
Cleaning: Wipe with a soft dry cloth; use a copper polish for stubborn stains
Avoid: Humid environments and excessive handling
Iron Pins
Main concern: Rust (seriously affects appearance)
Cleaning: Keep dry; lightly sand minor rust spots and touch up if needed
Avoid: High heat and humidity
Silver Pins
Main concern: Tarnishing (turning black), dullness
Cleaning: Use a silver polishing cloth; silver cleaner (use with caution)
Avoid: Sulfur exposure (e.g., rotten egg odors in the air)
Enamel Pins
Main concern: Chipping from impact
Cleaning: Use a soft brush for crevices and a soft cloth for the surface
Avoid: Mixing with hard objects and sudden temperature changes
Imitation Enamel / Painted Pins
Main concern: Scratches and fading from UV exposure
Cleaning: Gently wipe with a microfiber cloth
Avoid: Direct sunlight and chemical solvents
Quick Notes:
Copper pins: Avoid acidic cleaners—they speed up oxidation.
Iron pins: Treat rust immediately to prevent spreading.
Silver pins: Be careful with liquid cleaners—they can damage the surface if misused.
Enamel pins: Durable but brittle—handle with care to avoid chips.
Painted pins: Softer surface, so protect them from scratches.
3. Professional Storage & Collection Tips
Proper storage is key to long-term preservation.
1. Individual Protection
Best options: Pin display cases (plastic or acrylic) or thick resealable polyethylene bags
Cushioning: Line storage boxes with soft cloth or foam to prevent movement
Moisture control: Add silica gel packets and replace them regularly
2. Environment Control
Location: Store in a cool, dry, and dark cabinet or drawer
Temperature & humidity: Ideal humidity is 40%–50% with stable temperature
Avoid: Basements, bathrooms, and kitchens (high moisture areas)
No direct sunlight: UV exposure is a major cause of fading
4. Cleaning Steps
1. Routine Dusting
Use an air blower or a soft brush (like a makeup brush) to remove surface dust and debris from small gaps.
2. Deep Cleaning
Metal areas: Gently wipe with a microfiber cloth (like a lens cloth). For fingerprints or stains, use a small amount of clean water and dry immediately.
Enamel/painted areas: Use a damp cotton swab to clean spots, then quickly dry with a soft cloth.
3. What NOT to Do
Never soak pins in water or cleaning solutions
Never use paper towels, rough fabrics, toothpaste, or soap
Never scrub aggressively—this can cause permanent scratches
5. Essential Pin Care Checklist
Tools:
Soft brush
Air blower
Microfiber cloth
Cotton swabs
Supplies:
Pin storage cases or resealable bags
Silica gel (desiccant packs)
Habits:
After wearing, wipe off sweat and dust with a soft cloth
Store pins properly right after use
Mindset:
Handle with care
Limit air exposure
Maintain stable temperature and humidity
By following these guidelines, your pins will stay bright, well-preserved, and full of both value and memories for years to come.
1. Introduction: Why Custom Enamel Pins Are Suddenly Everywhere
Custom enamel pins have become one of the fastest-growing trends in fashion, branding, and collectibles in recent years. From streetwear brands to corporate events, these small accessories are now widely used to express identity, promote brands, and build emotional connections.
Unlike ordinary accessories, custom pins combine art, storytelling, and marketing power in a compact form. This is why demand for custom enamel pins continues to rise globally in 2025.
2. What Are Custom Enamel Pins?
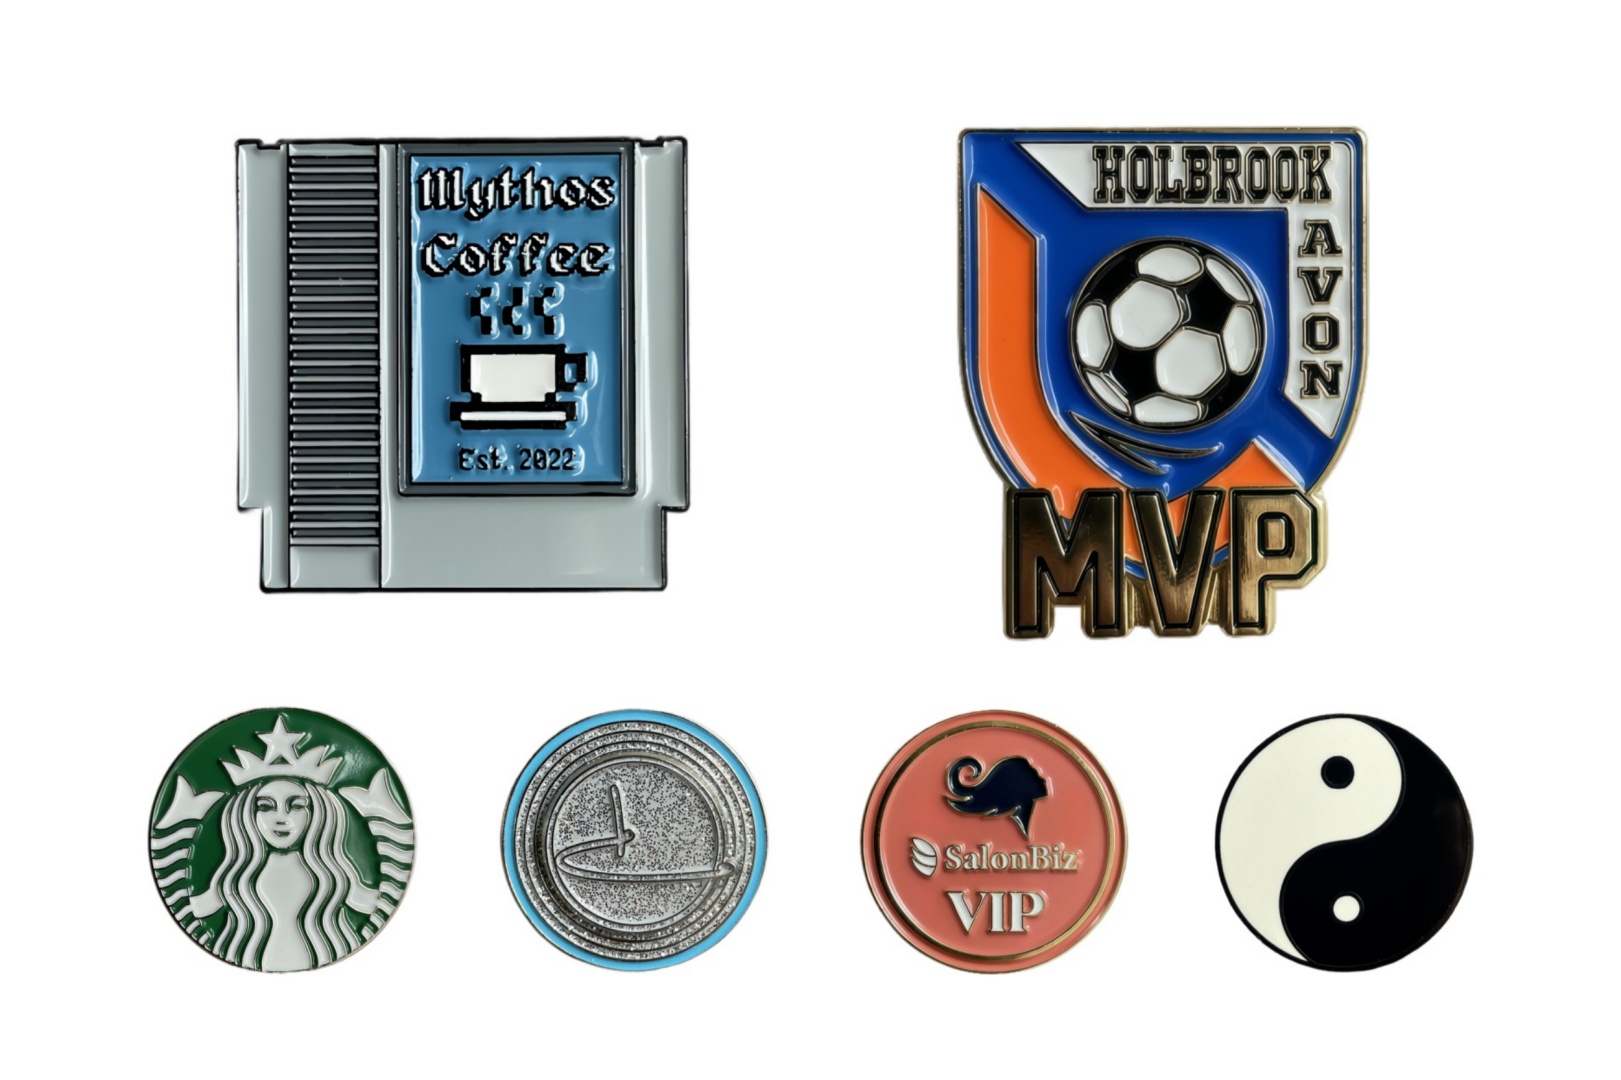
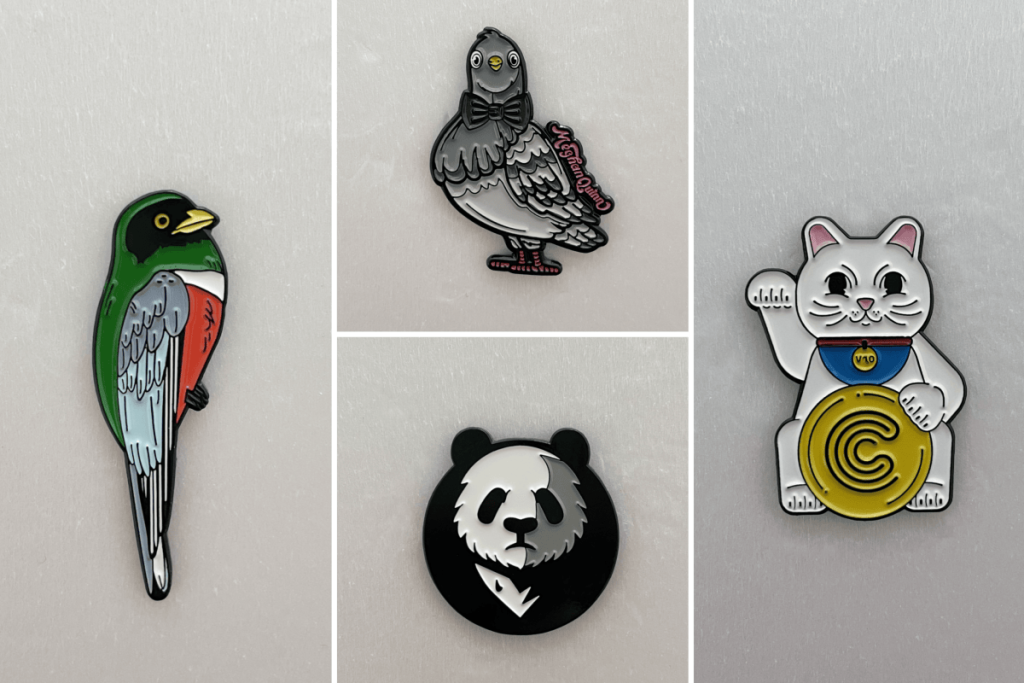
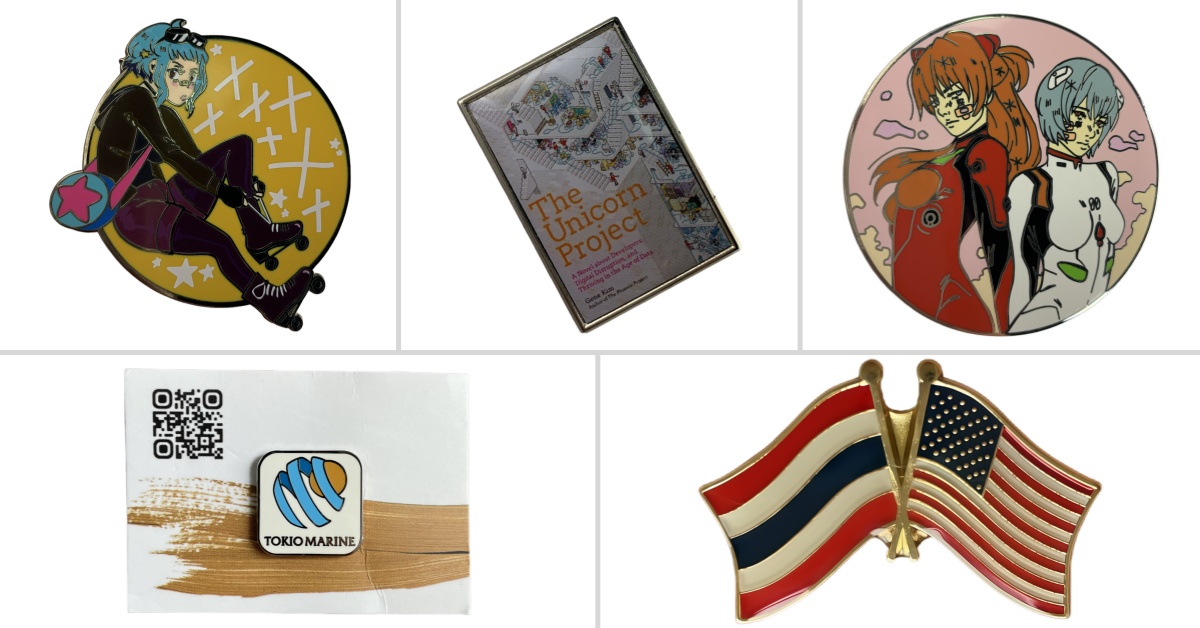
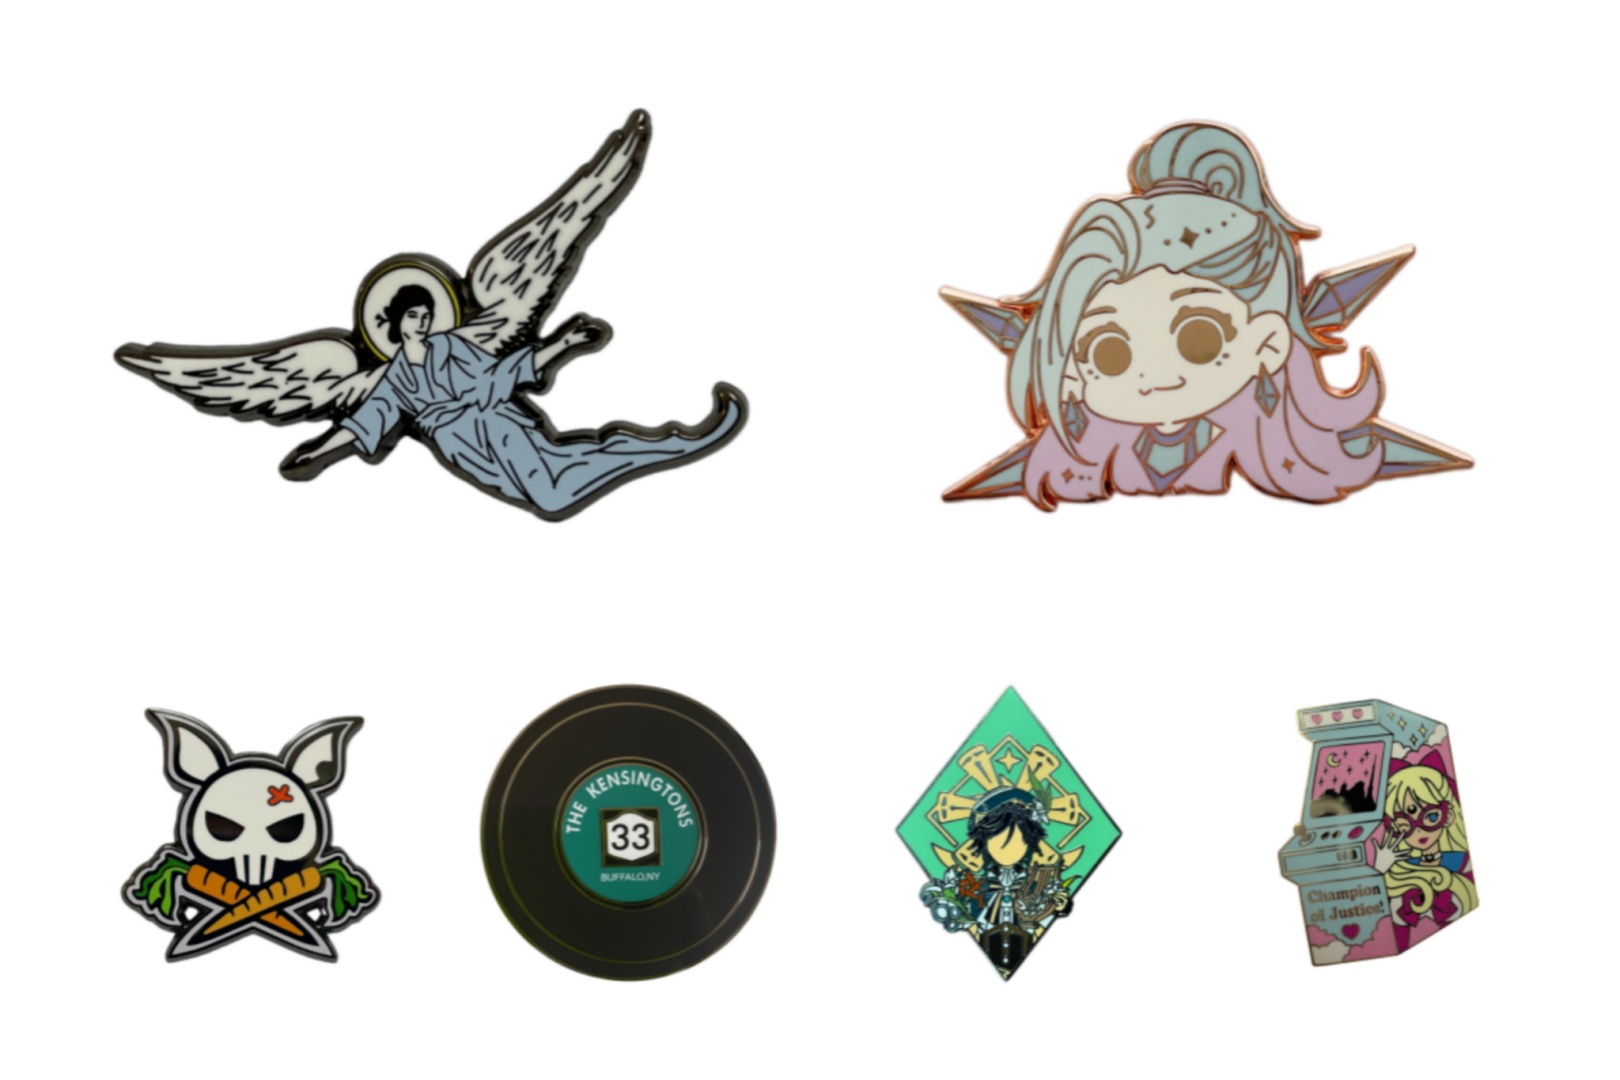
Custom enamel pins are small decorative items made from metal and filled with colored enamel. They are designed based on custom artwork, logos, or symbolic ideas.
They are commonly used as:
Brand promotional products
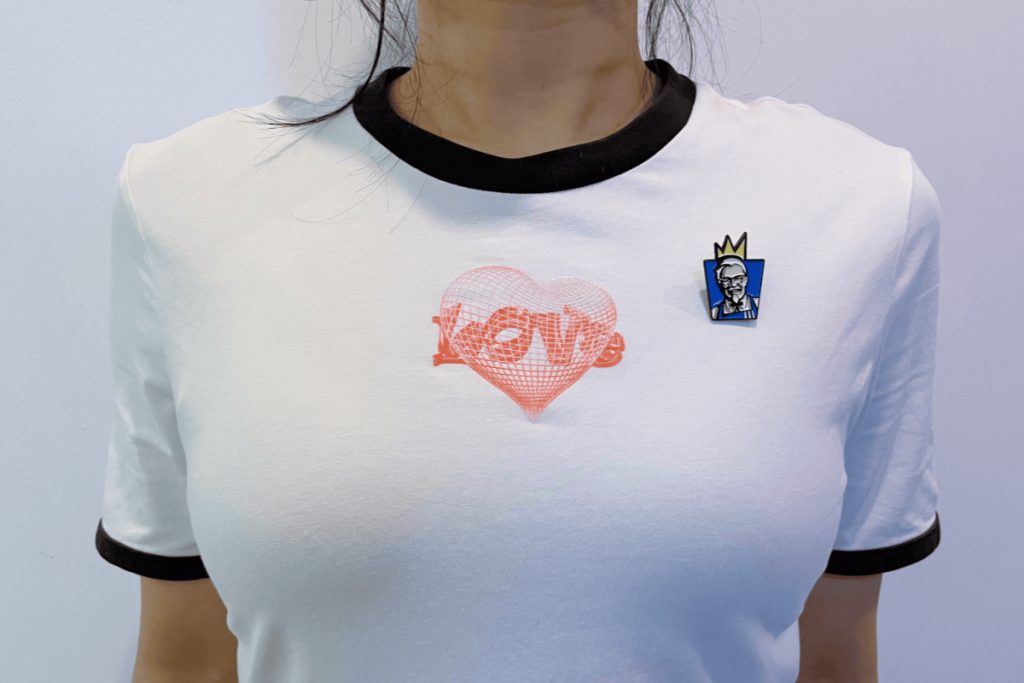
Fashion accessories
Event souvenirs
Club or organization badges
Collectible items
Because of their flexibility in design and low production cost, enamel pins have become one of the most popular custom products worldwide.
3. Why Custom Pins Have Become So Popular
3.1 Strong Identity Expression
People use pins to show:
Personal interests
Political views
Cultural identity
Fandom communities
A small pin can represent a strong personal message.
3.2 Affordable but High Value Branding Tool
For businesses, custom enamel pins are a cost-effective marketing tool.
Compared to other promotional products, pins offer:
Low production cost
High design flexibility
Long-lasting visibility
Strong brand recall
3.3 Rising Trend in Fashion and Streetwear
Fashion brands now use enamel pins as part of their product identity. They are often added to:
Jackets
Backpacks
Hats
Lanyards
This has made pins a core part of modern street fashion culture.
3.4 Collectible Culture Growth
Many users collect pins as a hobby. Limited editions and unique designs increase their value and desirability.
4. How Custom Enamel Pins Are Made
The production process usually includes:
4.1 Design Creation
The artwork is converted into a pin-ready vector design.
4.2 Mold Production
A metal mold is created based on the design.
4.3 Stamping
Metal sheets are stamped into pin shapes.
4.4 Coloring (Enamel Filling)
Colors are filled into recessed areas.
4.5 Polishing & Plating
Pins are polished and coated (gold, silver, black nickel, etc.).
4.6 Quality Inspection
Each pin is checked before packaging.
5. Types of Custom Enamel Pins
Soft enamel pins
Hard enamel pins
Die-struck pins
3D molded pins
Glow-in-the-dark pins
Each type offers different visual and tactile effects depending on the design requirement.
6. How Businesses Use Custom Pins for Branding
Companies use enamel pins in multiple ways:
Employee recognition badges
Brand merchandise
Event giveaways
Product launch gifts
Influencer marketing kits
Pins help brands create long-term emotional connection with customers.
7. Are Custom Enamel Pins Expensive?
The cost depends on:
Size
Design complexity
Material type
Quantity
In general, enamel pins are considered one of the most affordable custom promotional products, especially for bulk orders.
8. Why Custom Pins Are a Smart Marketing Choice
Custom enamel pins offer several advantages:
High perceived value
Strong emotional engagement
Easy distribution
Long lifespan
High brand visibility
This makes them ideal for both startups and established brands.
9. FAQ
Q1: What are custom enamel pins used for?
They are used for branding, fashion, collectibles, and promotional marketing.
Q2: Are enamel pins good for business promotion?
Yes, they are low-cost, high-impact branding tools.
Q3: What is the minimum order for custom pins?
Most manufacturers support low MOQ depending on design.
Q4: How long does it take to produce custom pins?
Usually 7–15 days depending on complexity and quantity.
10. Conclusion: Why Custom Pins Are More Than Just Accessories
Custom enamel pins are no longer just decorative items. They have evolved into powerful tools for expression, branding, and storytelling.
As demand continues to grow in 2025, custom pins will remain a strong trend in both fashion and marketing industries.
The Soul of the Lapel Pin: Reveal the Best Materials for Custom Enamel Pins, Create Your Own Eternal Mark
A small lapel pin—pinned to a collar, backpack, or hat brim—is far more than decoration. It’s a silent declaration, a symbol of belonging, a tangible anchor of cherished memories, and a miniature totem of brand spirit. Throughout history and across cultures, enamel pins carry deep emotional weight—from the Legion’s honour medal to a limited‑edition music‑festival keepsake, from a corporate logo worn with pride to the secret code of a fan community. When you decide to customise an exclusive custom lapel pin, material choice becomes the crucial decision that gives it a unique soul, texture, and lasting vitality.
So, with so many options, what is the best material for custom lapel pins? There’s no single answer—it depends on the story you want your pin to “tell”, the emotion it should convey, and the value you wish it to hold.
1. Metal Lapel Pins: Eternal Classics with an Aura of Authority
When you seek the ultimate in texture, heirloom value, and that unmistakable sense of authority, metal lapel pins reign supreme—especially when paired with enamel pin craftsmanship.
Enamel Pins — The Crystallisation of Craft and Art
Hard Enamel Pins / Cloisonné
The pinnacle of craftsmanship. Metal wires (copper or gold) define the outline; coloured glazes are kiln‑fired repeatedly and then mirror‑polished. The result is a porcelain‑smooth finish, extreme hardness, deep, fade‑proof colour, and a warm, jade‑like feel—ideal for high‑end brand logos, heirloom souvenirs, and achievement medals. It embodies eternity, exquisiteness, and supreme value.
Best substrate: premium brass base + genuine gold or silver plating.
Soft Enamel Pins / Epoxy Enamel
A modern classic. The metal base is stamped with recessed outlines and filled with coloured epoxy resin. The unpolished surface delivers a tactile texture (raised metal lines and slightly recessed colour fields). Colours are bright and expressive, and cost efficiency is high. Add a transparent epoxy resin dome to boost scratch resistance, fade resistance, and gloss—perfect for event souvenirs, fan enamel pins, trendy brands, and corporate promotions. It radiates vitality, creativity, and community spirit. Core materials: brass or zinc‑alloy base + high‑quality electroplating (imitation gold, silver, antique bronze, etc.) + epoxy‑resin dome.
Die‑Struck Pins — A Symbol of Strength and Weight
Process: A steel die stamps metal (usually zinc alloy) under high pressure to achieve a pronounced 3D relief.
Features: Surfaces are finished with electroplating (gold, silver, antique bronze, nickel) or painted for detail. The resulting lines are bold, the texture substantial—ideal for conveying strength, tradition, and heritage (military and police lapel pins, club insignias, retro logos).
Best materials: zinc alloy (durable, easily shaped, cost‑effective) + premium electroplating or paint.
2. Embroidered Patches: Warmth, Softness, and Limitless Creativity
For affinity, flexibility, intricate patterns, or vintage appeal, embroidered patches offer unique charm. Though not metal pins, they serve as a soft-touch alternative for apparel branding.
Embroidered Patches — A Fusion of Craft and Touch
Technique: Coloured threads stitched onto a base fabric (polyester, cotton, or blends). Edge finishes include raw-cut (for a retro vibe), laser-cut (for precision), or heat‑sealed (for durability).
Features: Soft, warm feel; layered colour depth (excellent for gradients); breathable and resistant to warping. They carry a hand‑crafted feel, vintage style, and a sporty‑casual spirit—widely used on denim jackets, baseball caps, motorcycle club gear, sports‑team kits, outdoor apparel, and charity merch.
Best materials:
Base fabric: durable polyester (vibrant, shrink‑resistant), soft natural cotton (cozier but prone to wrinkles), or textured PU leather.
Threads: high‑tenacity polyester or rayon with excellent colourfastness.
Backing: hot‑melt adhesive (self‑adhesive) or sew‑on options.
Eco trend: Organic‑cotton threads and recycled‑polyester fabrics are on the rise.
3. Silicone & PVC Pins: Trendy, Safe, and Highly Mouldable
When you prioritise a soft touch, 3D shapes, safety (especially for children), or vibrant uniform colours, silicone pins and PVC pins shine.
Features:
Soft, elastic, comfortable, and gentle on surfaces and skin.
Exceptional mouldability enables intricate 3D forms, cut‑outs, and even special effects (glow‑in‑the‑dark, colour‑changing).
Colours tend to be one‑ or two‑tone but richly saturated, giving a modern, playful vibe.
Waterproof and weatherproof.
Applications: Fashion accessories, cartoon/anime merch, children’s toys, promotional giveaways, water‑bottle and bag charms, safety signage.
Best materials: Food‑grade silicone (softer, more elastic, safer, eco‑friendlier but costlier) or PVC rubber (firmer, budget‑friendly). Quality raw materials ensure non‑toxicity, odourlessness, colour stability, and ageing resistance.
4. Choosing the “Material” for Your Lapel Pin’s Soul: A Decision‑Making Framework
Collector’s display or special occasions → Hard enamel’s timeless texture is irreplaceable.
Sewn onto garments → Embroidered patches are the natural choice.
Children’s items or safety → Silicone pins excel.
Design complexity
Ultra‑fine lines, tiny text → Soft enamel, high‑resolution digital printing, or embroidery (size permitting).
Large colour areas, bold hues → Hard enamel, soft enamel, or silicone offer the richest saturation.
Complex 3D modelling → Die‑casting or silicone.
Budget
Highest investment: Hard enamel > intricate die‑casting/3D silicone > soft enamel with epoxy/high‑quality embroidery > standard soft enamel/die‑casting > basic silicone/PVC > simple printing/embroidery.
Sustainability
Ask suppliers about lead‑free enamels, eco‑friendly plating processes, recycled metals (e.g., recycled brass), organic‑cotton threads, recycled‑polyester bases, and food‑grade silicone.
Conclusion: The Best Material Is the One That Tells Your Story
There’s no one‑size‑fits‑all answer to the best material for custom lapel pins. Hard enamel metal embodies timeless artistry and top collectible value; soft enamel with epoxy strikes an ideal balance of vibrancy, detail, and durability; quality embroidery conveys unmatched handmade warmth and vintage flair; food‑grade silicone defines a trendy, safe, tactile experience; and die‑cast zinc alloy delivers strength and gravitas.
The true “best” material is the one that perfectly matches your pin’s narrative, emotion, use case, and value proposition. By understanding each material’s “soul traits” and aligning them with your core needs, you’ll make the wisest choice.
Ready to transform your vision into an emblem that resonates? Define the story your lapel pin needs to tell, and the perfect material will reveal itself—creating an emotional imprint worth cherishing, wearing, and proudly sharing.
Is it the viral Labubu? Or maybe some idol merch that makes you squeal and throw your money at the screen? Don’t kid yourself — it’s not just a chunk of metal with a splash of paint. Its birth is basically a full-on industrial glow-up.
Today, let’s go undercover as “badge agents” and sneak into the factory (don’t worry, my Uncle Bob’s the boss ) to see how a humble “metal pancake” transforms into that eye-catching little masterpiece on your jacket.
Step 1: Draw That “Cake” — Design & Mold
Designers = dream weavers. Your wild ideas (like your idol’s perfect face ) need to become precise blueprints.
The colors? Have to be clearly labeled — rose gold vs. yellow gold? Tiffany blue vs. sky blue? Pantone numbers are their IDs. Mess it up, and you’ll question your entire existence.
The file needs to be vector art (AI or EPS) — blow it up 800x and it still looks squeaky clean. Lines crisp like fresh laundry.
Step 1.5: Pick Its “Outfit”
What style do you want your badge rocking?
Enamel (cloisonné / imitation): Colors look like tiny gemstones framed in metal. Soft enamel feels a bit bumpy (so satisfying), while hard enamel’s so smooth you could check your teeth in it. Fancy, timeless, CEO vibes.
Printed: Want photo-level detail? Gradients? Bring it. Printed directly on the metal. Downside: it needs a protective resin “topcoat” or it could scuff.
Pure Metal: A “cold industrial” look. No colors, just raw metal flexing. Sandblasted (matte), polished (blinding), brushed (grainy), distressed (vintage) — it’s all about texture.
Painted (star of the show ): Spray-painted + baked. Colors pop so hard they practically ooze. Can handle gradients, neon, even glitter. Faster than enamel, thicker than printing, and tough as nails. Those modern, color-explosion pins? Mostly these.
3D: No flat badges here! Turn it into a tiny sculpture that looks ready to jump up and wave. Costs more, but who cares — pretty > everything.
Step 2: Give That Metal a “Facelift” — Stamping
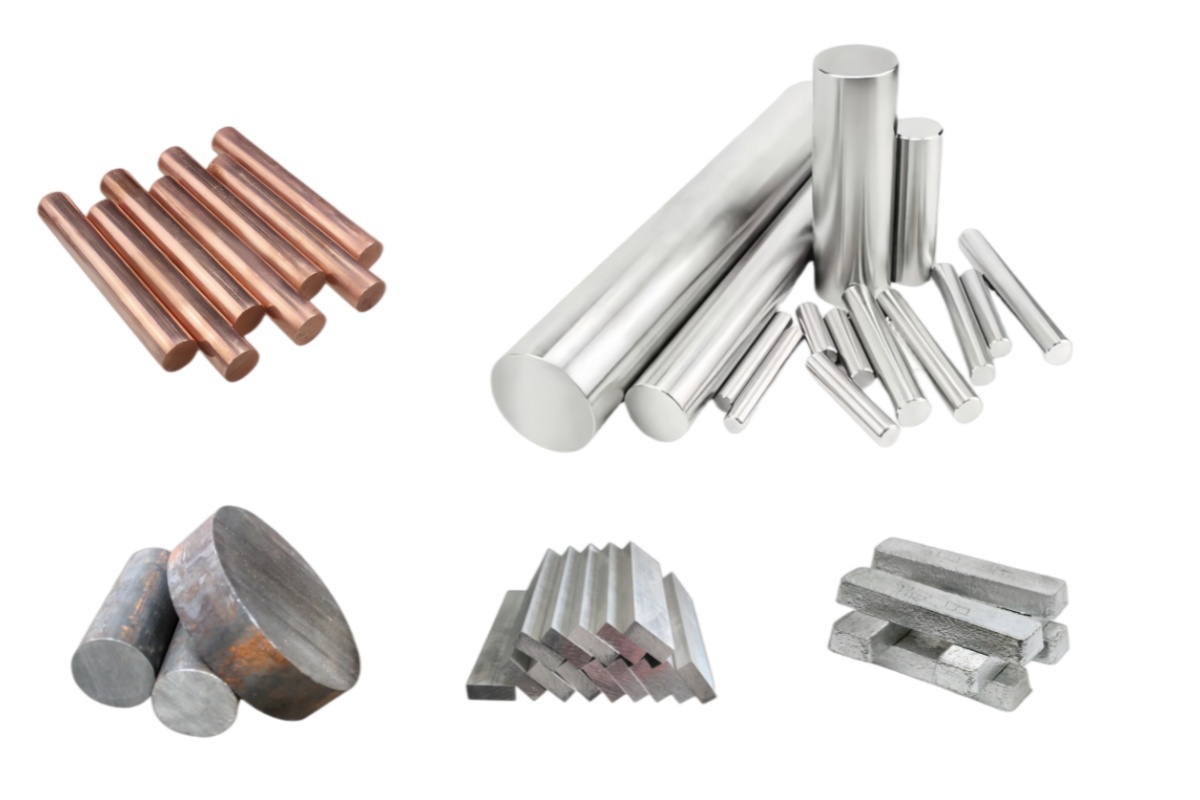
Choose your base metal:
Zinc alloy (the star): 90% of pins. Shapes easily, doesn’t crack, affordable.
Copper (the rich kid): Great for ultra-detailed reliefs (think hair strands on coins). Costs more.
Iron (the budget bro): Cheap but rusts — needs extra plating. Perfect for promos.
Aluminum (lightweight champ): Light as air, nice for big eco-friendly badges.
Then comes the big butt machine (the press). The metal sheet goes in the mold… WHAM! — dozens or even hundreds of tons slam down. Too soft? Your badge relief ends up flat like a pancake. Too hard? Metal cracks. Takes Shaolin-level control.
Step 3: Smooth the “Stubble” — Grinding & Polishing
Freshly pressed badges might have tiny “whiskers” (burrs). Ouch. They get tossed in a vibrating tumbler with ceramic bits for a little rock ‘n roll until smooth. Or zapped with a laser shaver that leaves it slick enough for a fly to slip doing the splits.
Step 4: Dress It Up — The Color Run (the real showstopper)
Base coat first: Electroplating gives it a shiny film and rust protection. Gold, silver, gunmetal… whatever suits your vibe.
Then the star treatment:
Enamel: Tiny needles fill grooves with liquid enamel, then it’s oven-baked. Hard enamel gets polished flat, smooth like Dove chocolate. Soooo silky.
Printed: Machines blast on complex, HD gradients like it’s nothing. Just top it with clear resin so it doesn’t “faceplant” later.
Painted:
Mask off areas to stay metal with heat-proof tape. (Crooked? GG.)
Electrostatic spray paints perfectly even.
Bake. Spray. Bake. Spray. Like a thousand-layer cake.
Peel off the tape (or laser it off). Instant satisfaction seeing that shiny metal peek out.
Finish with a clear topcoat — glossy or matte. Protection + texture boost.
Pure Metal: No colors, just fancy finishes: sandblasted (matte cool), polished (bling attack), brushed (industrial chic), or distressed (hipster antique).
Step 5: Give It a “Crystal Coat” — Epoxy (optional but amazing)
Many enamel and printed pins get topped with clear epoxy resin. Once set, it’s like a crystal jelly dome.
Makes colors pop + slightly 3D, like a built-in magnifier.
Toughens it up — scratch, fade, and UV resistant. Basically Botox for your badge.
Magnet (gentle flower): Easy on/off, safe for silk & cashmere.
Rubber cap (playful cutie): Light, perfect for hats or tees.
Screw back (bodyguard): Bulletproof hold. Used for medals, police badges.
Locking clasp (sneaky assistant): Little locking mech stops it from popping off at the club.
Step 7: Quality Control — The Judgment Day
None of these babies escape inspection.
Colors match Pantone?
Any chips, scratches, uneven plating?
Back clasp solid?
Resin free of bubbles or cracks?
If not: instant rejection. QC eyes sharper than a hawk.
Step 8: Pack It Up for “Marriage”
The perfect pins get slipped into little OPP bags (like wedding dresses), nestled in fancy boxes, then boxed up sturdy for their journey to you — arriving fresh, flawless, and ready to shine.
After reading all this, bet you’re thinking:
“Damn, making a tiny badge is more complex than building a rocket.” It’s literally precision engineering + artistry + chemical wizardry packed into one shiny mini.
For your fave idol, team events, fan clubs, or just to flex.
5 top places to make them:
PinsBadges — global, bilingual, tiny orders (30+), online 3D previews. Pricier but stress-free. BadgeMaker — direct from factory, kills middlemen costs. Starts ~100 pcs, great for groups or companies. Etsy — indie designers with custom art, niche finishes like watercolor/UV. ~$15 each, 1 month wait. Artist Shops — official BTS, Taylor Swift etc. Licensed + numbered. Pricey ($25+), but hey, love. Vistaprint — 72-hr rush, as cheap as $1.99, but plasticky. One-off events only.
Pro tips so you don’t get burned:
Always ask lead times — US factories average 4-6 weeks. Rush fees might cost more than the badges.
Get a ASTM B117 salt spray test report for anti-rust proof.
On Etsy? Look for “Star Seller” + pay by credit card.
Quick action plan:
Testing the waters? PinsBadges: ships CN↔US, bilingual, no time zone headache.
Bulk? BadgeMaker: big orders can drop to $0.80/pin.
Collecting? Follow Etsy sellers for “back in stock” alerts on limited runs.
Hard-earned tip: If a US shop wants to mass produce without sending a sample first — RUN. (Edits start at $200. Tears won’t fix a botched design.)